How to Choose the Best Solar Landscape Lighting
Choosing Solar Landscape Lighting means matching appearance, brightness, and placement to the way your yard is used. A narrow path needs clear, even guidance, while a garden bed may benefit from softer accent light. Before comparing products, notice where people walk, where you want attention, and how much direct sun those spots receive. A panel under thick branches may charge poorly, even when the fixture itself looks impressive. Small details matter. Check the panel’s position, battery information, weather resistance, and whether the light’s brightness can be adjusted. These specifications offer useful clues, but they cannot predict every result in your yard. Shade, winter daylight, and nearby walls can all affect nighttime performance.
This guide explains how to compare light types, brightness, materials, installation needs, and ongoing care. It also considers practical trade-offs: brighter fixtures may suit entrances, but softer light can feel more comfortable along a seating area. For long paths, spacing matters; a row of lights placed too far apart can leave dark gaps. For trees or architectural features, adjustable spotlights provide more control over direction. I would be cautious about promises of all-night brightness without clear battery and runtime details. That may sound picky. Still, a product page cannot show exactly how a fixture will perform beside your porch or beneath your maple tree. Use the recommendations here as a starting point, then test placement before installing every light. The best choice is one that suits your landscape, receives enough sunlight, and delivers dependable illumination without creating glare.
Understand the Main Types of Solar Landscape Lights
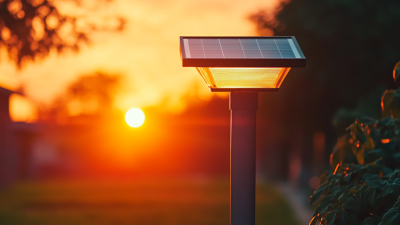
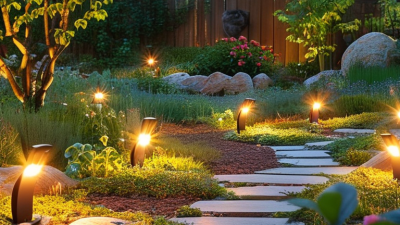
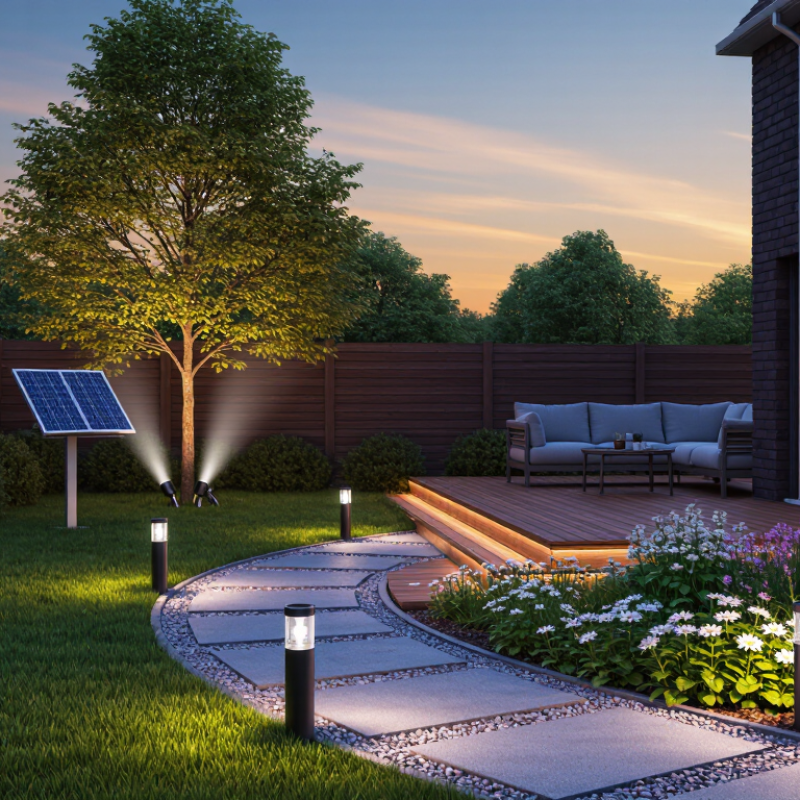
Solar landscape lights differ in how they shape a yard. Path lights cast a low pool of light along walkways, making edges and steps easier to see. Space them so their beams overlap slightly, but avoid lining them up like runway markers. Spotlights create a narrower beam for a tree trunk, sign, or garden feature. Floodlights spread light across a wider area, though nearby windows may catch unwanted glare.
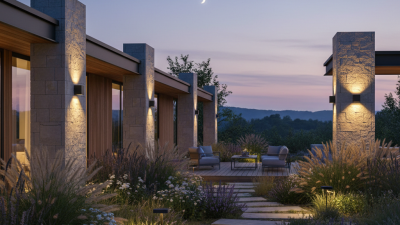
Deck and wall lights work well on steps, fences, and outdoor seating areas. Decorative lanterns add a soft accent, but they usually provide less useful light for walking. Solar performance depends on more than the fixture type. A shaded panel may not collect enough sunlight, even on a bright day. Check the panel’s location, the stated runtime, and whether the battery can be replaced. These details are easy to overlook.
Tips: Walk the yard after sunset and note dark spots before choosing fixtures. Start with a few lights, then adjust their spacing. Keep panels clear of leaves and aim spotlights away from neighbors’ windows. Solar output varies with weather and season. Some corners may stay dim, and that may be acceptable.
Define the Areas and Features You Want to Illuminate
Walk your yard at dusk and note where light would improve safety or reveal a feature. Mark uneven steps, turns in a path, and the edge of a patio. These spots need clear, low-level guidance, not a bright wash. Start at dusk. Notice where shadows already fall, and whether nearby windows might catch unwanted glare.
Separate practical areas from decorative ones. A narrow path may need evenly spaced lights, while a large tree can be highlighted with one or two carefully aimed fixtures. For a seating area, consider gentle light near the perimeter rather than shining directly into people’s eyes. Measure the spaces and sketch a rough layout; estimates made from memory can leave awkward gaps. I have found that a simple sketch helps, though it will not capture every shadow.
Check how much direct sun each proposed location receives during the day. A spot beneath dense branches or beside a tall wall may not charge reliably, even if it looks ideal at night. Test the layout with temporary markers before choosing fixtures. Move them around. A few extra lights may seem reassuring, but too many can flatten the garden’s natural contrast. Decide which details deserve attention, and let less important areas stay softly dark.
Compare Brightness, Runtime, and Weather Resistance
For a garden path, brightness should make edges and steps visible without turning the yard into a glaring runway. Compare lumen ratings, but treat them as a starting point: beam angle, lens, and mounting height change how bright a light feels. A narrow beam can mark a step; softer, wider light may suit a flower bed. Check the label.
Runtime matters as much as brightness. A fixture advertised for eight hours may achieve that only after a sunny day and with a healthy battery. In a shaded yard or during short winter days, expect less. Place the panel where it receives several hours of direct sun, and keep leaves or dust off its surface. It is easy to overlook that little patch of shade. Still, conditions vary.
Weather resistance deserves a close look, too. Check the product’s IP rating and confirm that its stated protection covers rain and dust. Look for sealed seams, sturdy stakes, and materials that can tolerate repeated wet-and-dry cycles. No rating makes a light indestructible. If your area gets hard freezes, heavy rain, or coastal spray, inspect the housing and battery access before buying. A pretty fixture can still disappoint.
Evaluate Sun Exposure, Placement, and Installation Needs
Before choosing solar landscape lights, watch the intended area for a full day. A sunny patch at noon may sit under tree shade by late afternoon. Most small panels need several hours of direct sunlight to recharge well, though performance varies with weather and battery condition. Shade adds up. Check the spot on cloudy days, too, if that reflects your usual climate.
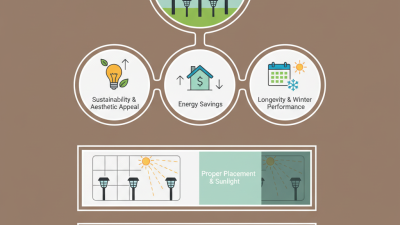
Place lights where their panels face open sky, not beneath eaves or dense branches. Keep path lights far enough apart to mark the route without creating bright pools and dark gaps. For a garden bed, angle the fixture toward foliage rather than a neighbor’s window. I once underestimated how much a nearby fence blocked winter sun; the lights looked fine in summer but dimmed earlier later in the year. Seasonal changes matter.
Consider installation before buying. Stake-mounted fixtures suit soft soil, while compacted ground may need a pilot hole to prevent bent stakes. For deck edges or masonry, check whether the light includes a suitable mounting plate and fasteners. Avoid placing panels where sprinklers soak them repeatedly, and leave room to clean dust or fallen leaves from the surface. No wiring is convenient, but it does not mean no upkeep. A quick placement test can reveal awkward shadows before you secure anything.
Match Light Design and Materials to Your Landscape
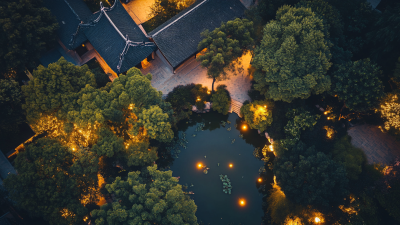
Match the beam to the job, not just the fixture to the flowerbed. Use low, shielded lights to trace a path, and wider beams to reveal the texture of a stone wall or broad-leaf plant. For a quiet garden, warm light around 2700–3000 K keeps foliage from looking stark. DarkSky recommends fully shielded outdoor fixtures and warmer color temperatures to reduce glare and skyglow. Keep light directed downward; a bright beam in a neighbor’s window is a design flaw, not added security.
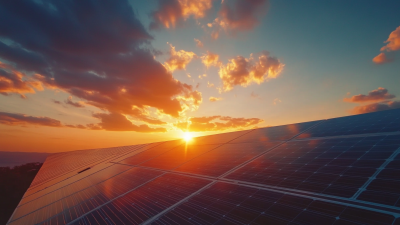
Materials should suit both the landscape and the weather. Powder-coated aluminum is light and practical, while stainless steel can handle damp coastal air; check fasteners, seals, and drainage, not only the visible finish. Solar panels need clear access to daylight. NREL’s National Solar Radiation Database provides location-based solar and weather data, which can help assess seasonal exposure. Shade matters. A panel under a dense tree may charge poorly, even if the lamp looks perfect at noon.
Choose efficient LEDs, then size the panel and battery for the fixture’s real nightly use. The U.S. Department of Energy reports that LEDs use at least 75% less energy and can last up to 25 times longer than incandescent lighting. That efficiency helps, but it does not erase poor placement. I’d test one light through several evenings before buying a full set; the first layout often feels too bright.
Choosing light and materials: These color temperatures are practical starting points, not fixed standards. Warm light (about 2700–3000 K) generally suits paths, planting, and gathering areas; a neutral 3500 K can help with functional visibility. Choose fixtures with outdoor-rated seals and lenses. Powder-coated aluminum can suit many gardens, while stainless-steel hardware may be preferable in coastal settings; material performance depends on grade, finish, and maintenance.